Support
Manual
Step-by-step guides for organisers — from creating an event to collecting chips back after the race.
Searches chapter titles and the full content of every step.
Chapter 2 of 10 · swipe for the next one
Chapter 02
Event settings
Duplicate protection, record confirmation, checkpoints, categories, live stream and participants — in the same order the app shows them.
01Turn on duplicate protection
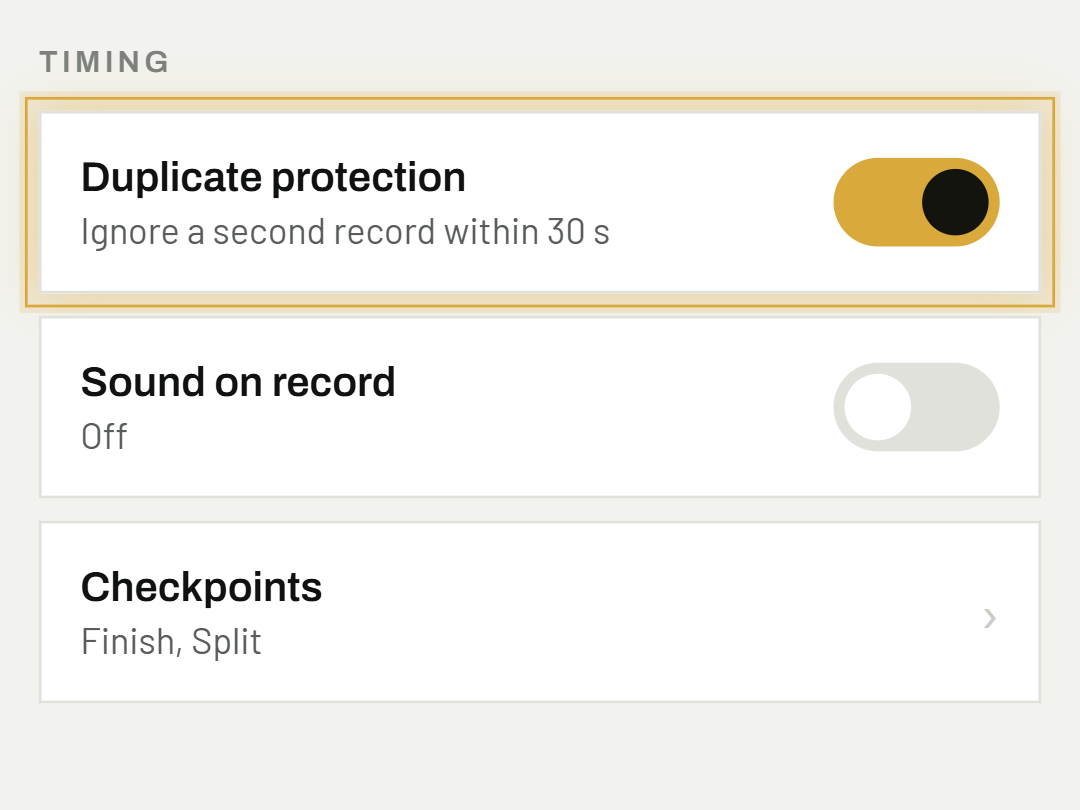
The app ignores a second record for the same participant within a few seconds — turn it on with the toggle and set the time to match your race. This stops a single passing from accidentally being counted twice, for example if a participant slows down or pauses right at the finish.
App screenshot — added later
"Full-screen record confirmation" row with a toggle
02Set up record confirmation
After each record, a green confirmation with the bib number flashes across the whole screen — covering the participant list for a few tenths of a second. During a dense finish, when you're tapping one name after another, you can switch it off with the toggle and not wait for it to clear. Sound and vibration stay on either way, so you still get confirmation that the time was recorded.
03Add checkpoints
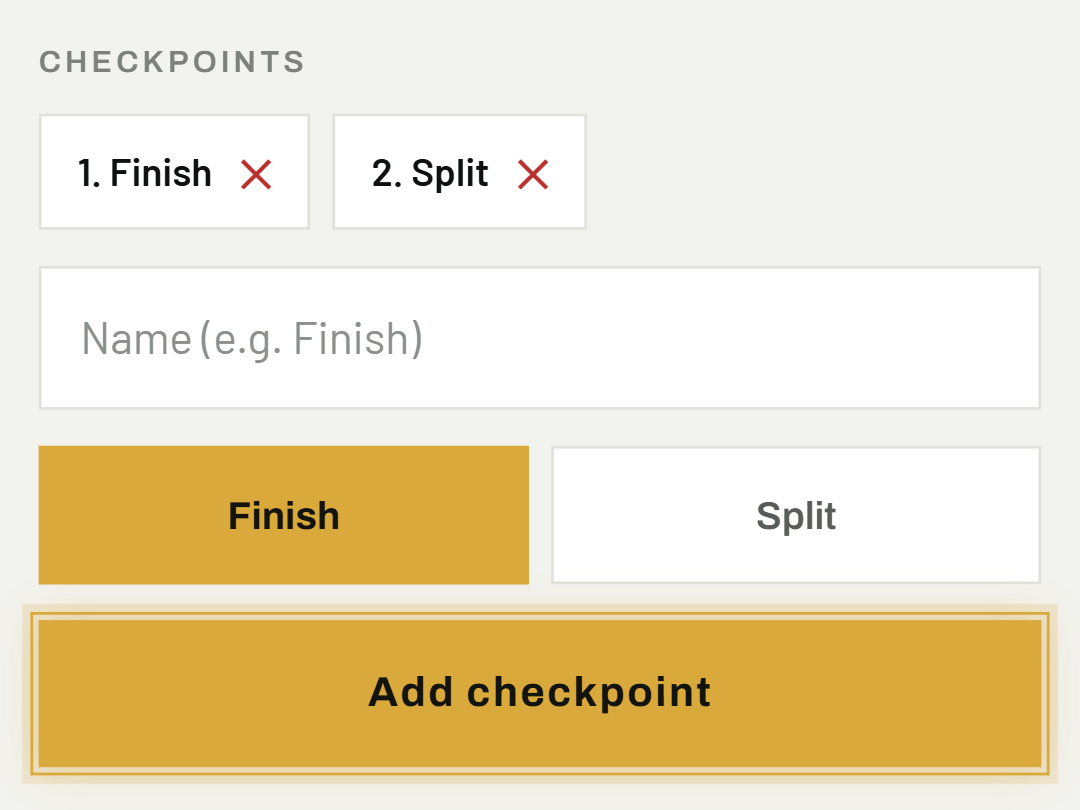
The app creates the Finish checkpoint automatically with the event, and the last Finish can't be deleted — without it no passings could be recorded. Add a Split when you need one, useful for longer races where intermediate times are marked — a marathon, for instance.
04Set up categories
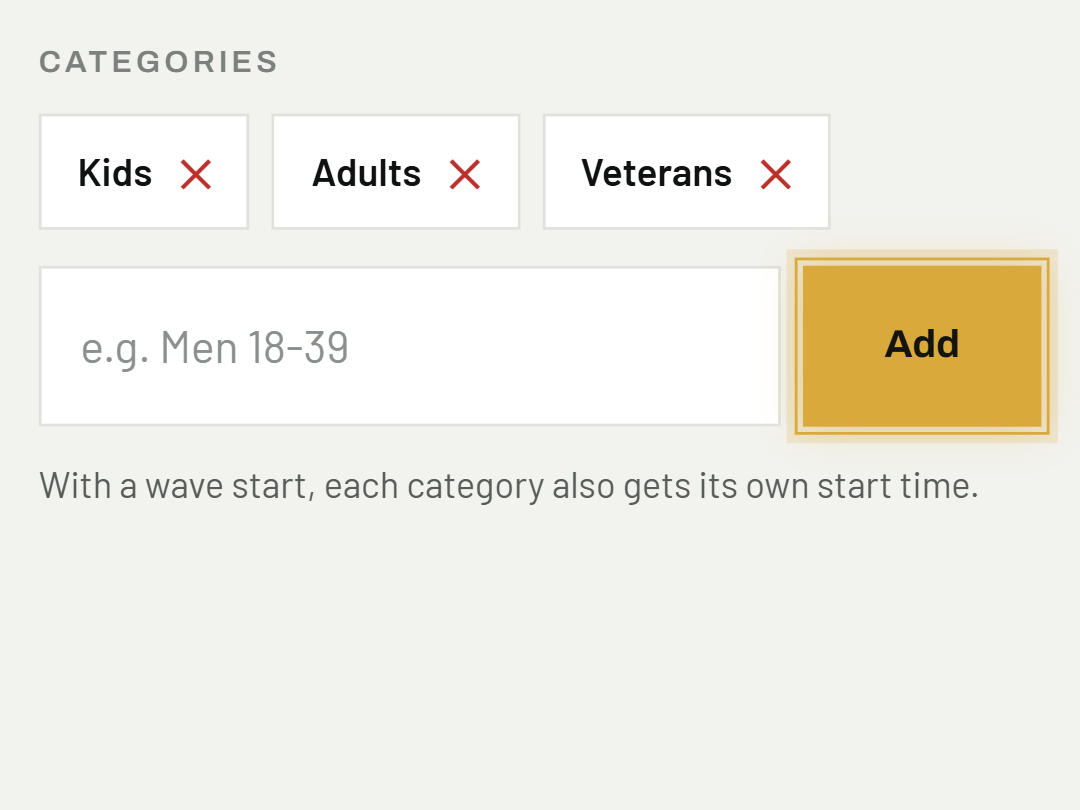
Split participants up, e.g. by age or gender. With a wave start, each category also gets its own start time.
05Add a live stream
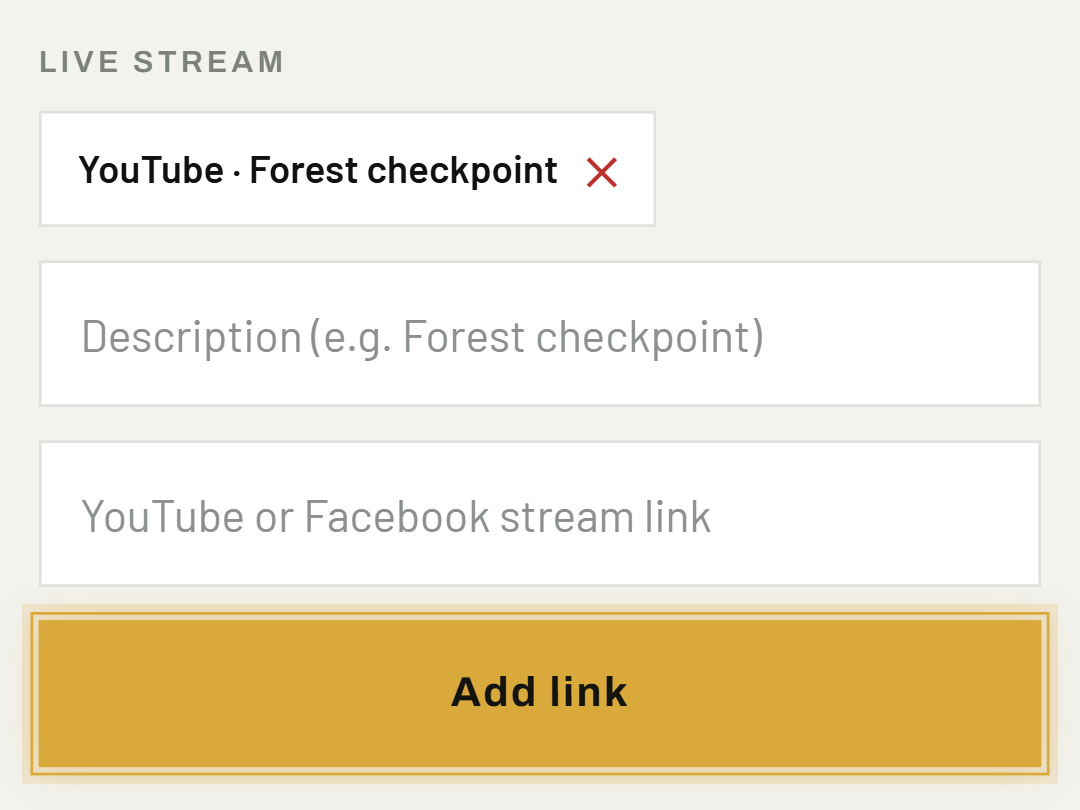
In the Live stream section, paste a YouTube or Facebook link — the app shows it later right on the results page.
06Add participants
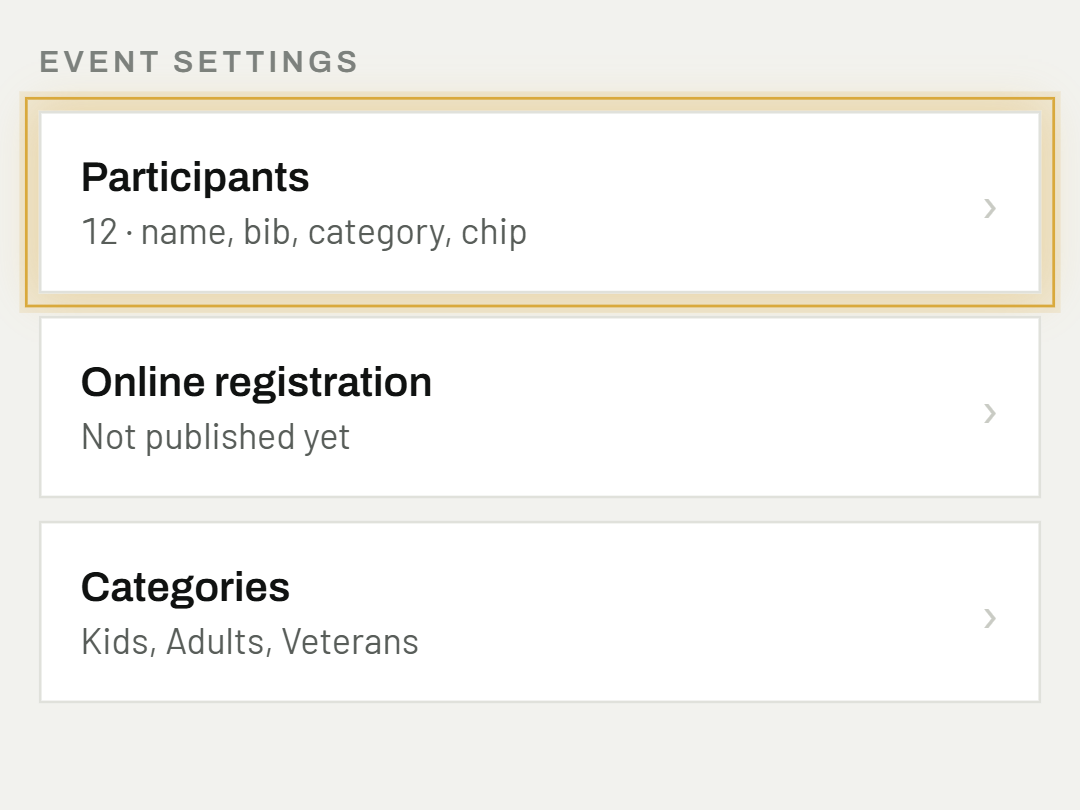
By hand in the Participants section, or let participants register themselves through the event's public page.
More on this in the Online registration chapter.
Was this helpful?
Need help? Write to us